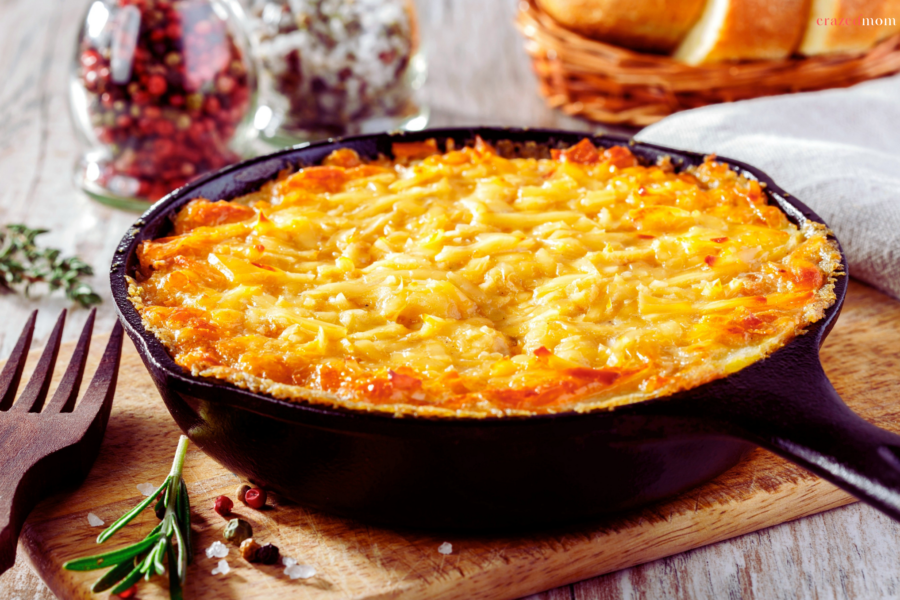
Posted in DinnerRecipes Kielbasa Sausage Hashbrown Dinner Casserole Posted byby Mary Miller August 2, 2022 0 minute read
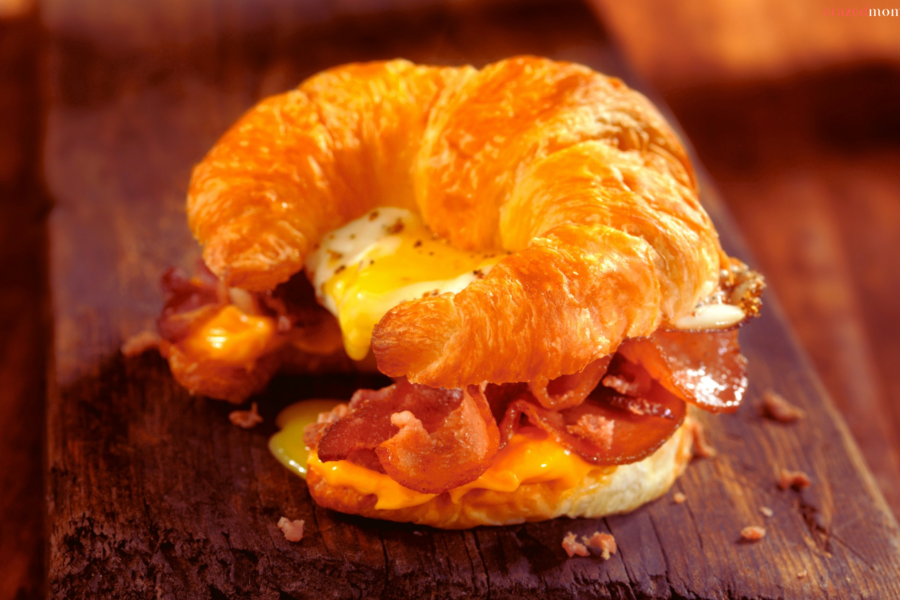
Posted in BreakfastRecipes Bacon and Egg Breakfast or Bunch Pastries Puffpastry Posted byby Mary Miller August 2, 2022 0 minute read
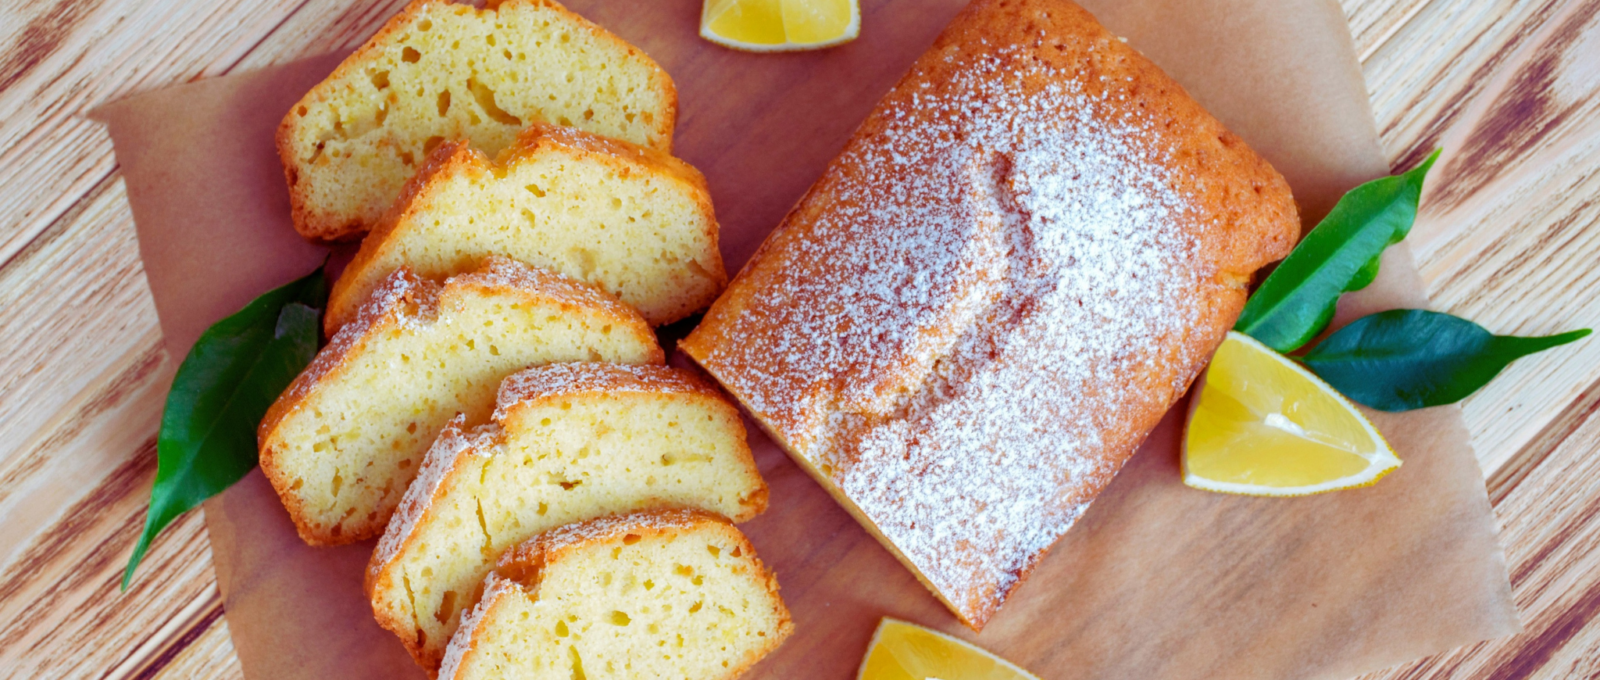
Posted in SnacksRecipes Lemon Key Lime Layer Snack Cakes Posted byby Mary Miller August 2, 2022 0 minute read 0 Comments
Posted in DinnerRecipes Kielbasa Sausage Hashbrown Dinner Casserole Posted byby Mary Miller August 2, 2022 0 minute read 0 Comments
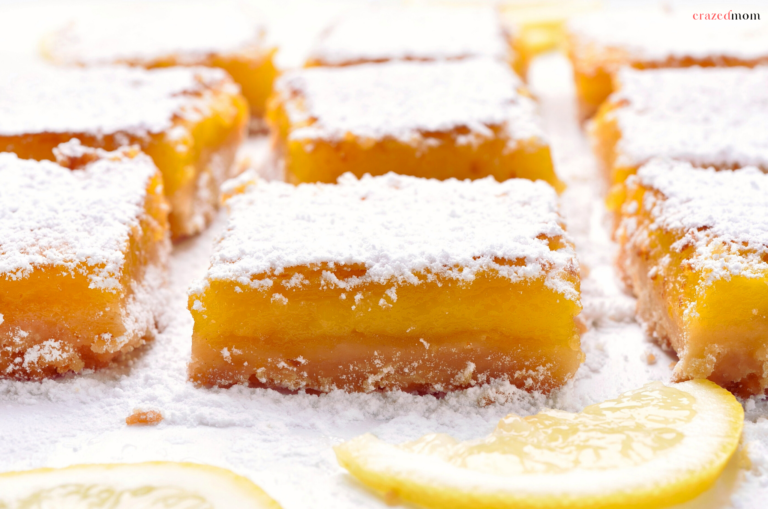
Posted in RecipesSnacks Gooey Lemon Bars Posted byby Mary Miller August 2, 2022 0 minute read 0 Comments
Posted in BreakfastRecipes Bacon and Egg Breakfast or Bunch Pastries Puffpastry Posted byby Mary Miller August 2, 2022 0 minute read 0 Comments
Posted in Uncategorized Breakfast Egg Stuffed Potato Skin Baked Posted byby Mary Miller August 2, 2022 0 minute read 0 Comments
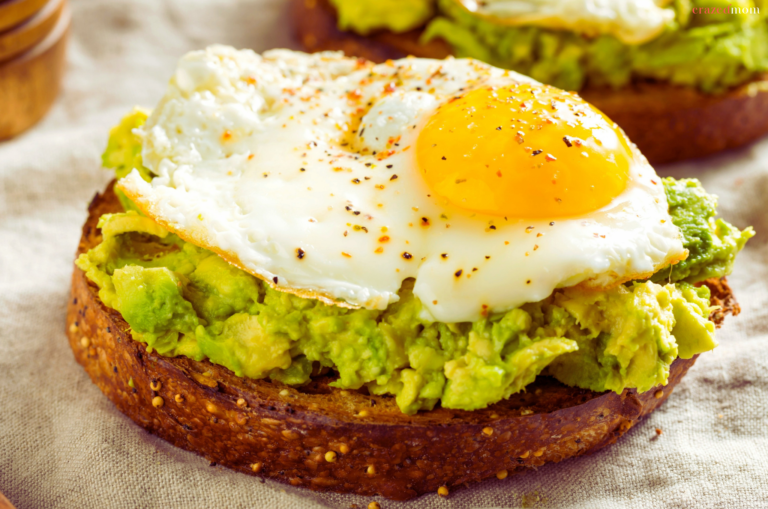
Posted in BreakfastRecipes Green Onion Egg Toast Tarts or cups 2 Posted byby Mary Miller August 2, 2022 0 minute read 0 Comments
Posted in Uncategorized Rhubarb Elderberry Cocktail Posted byby Mary Miller August 2, 2022 0 minute read 0 Comments
Posted in Uncategorized Garlic Herb Buttermilk Dinner Rolls Posted byby Mary Miller August 2, 2022 0 minute read 0 Comments
Posted in RecipesSnacks Pumpkin Pie Coffee Milkshakes Posted byby Mary Miller August 2, 2022 0 minute read 0 Comments
Posted in Uncategorized Asparagus Ham Swiss Danish Braid Posted byby Mary Miller August 2, 2022 0 minute read 0 Comments